DIY Wooden Horse Sign- Hot Mess Method

DIY Wooden Horse Sign- Hot Mess Method
A fun, easy DIY for horse lovers.
Materials:
Acrylic or craft paint
bristle paint brushes
weathered wood approx. 9x 12
spray paint
sandpaper or hand held sander
eye screws
wire or leather for hanger
Steps:
Choose 3-4 complimentary colors
Paint your wood in a random fashion.

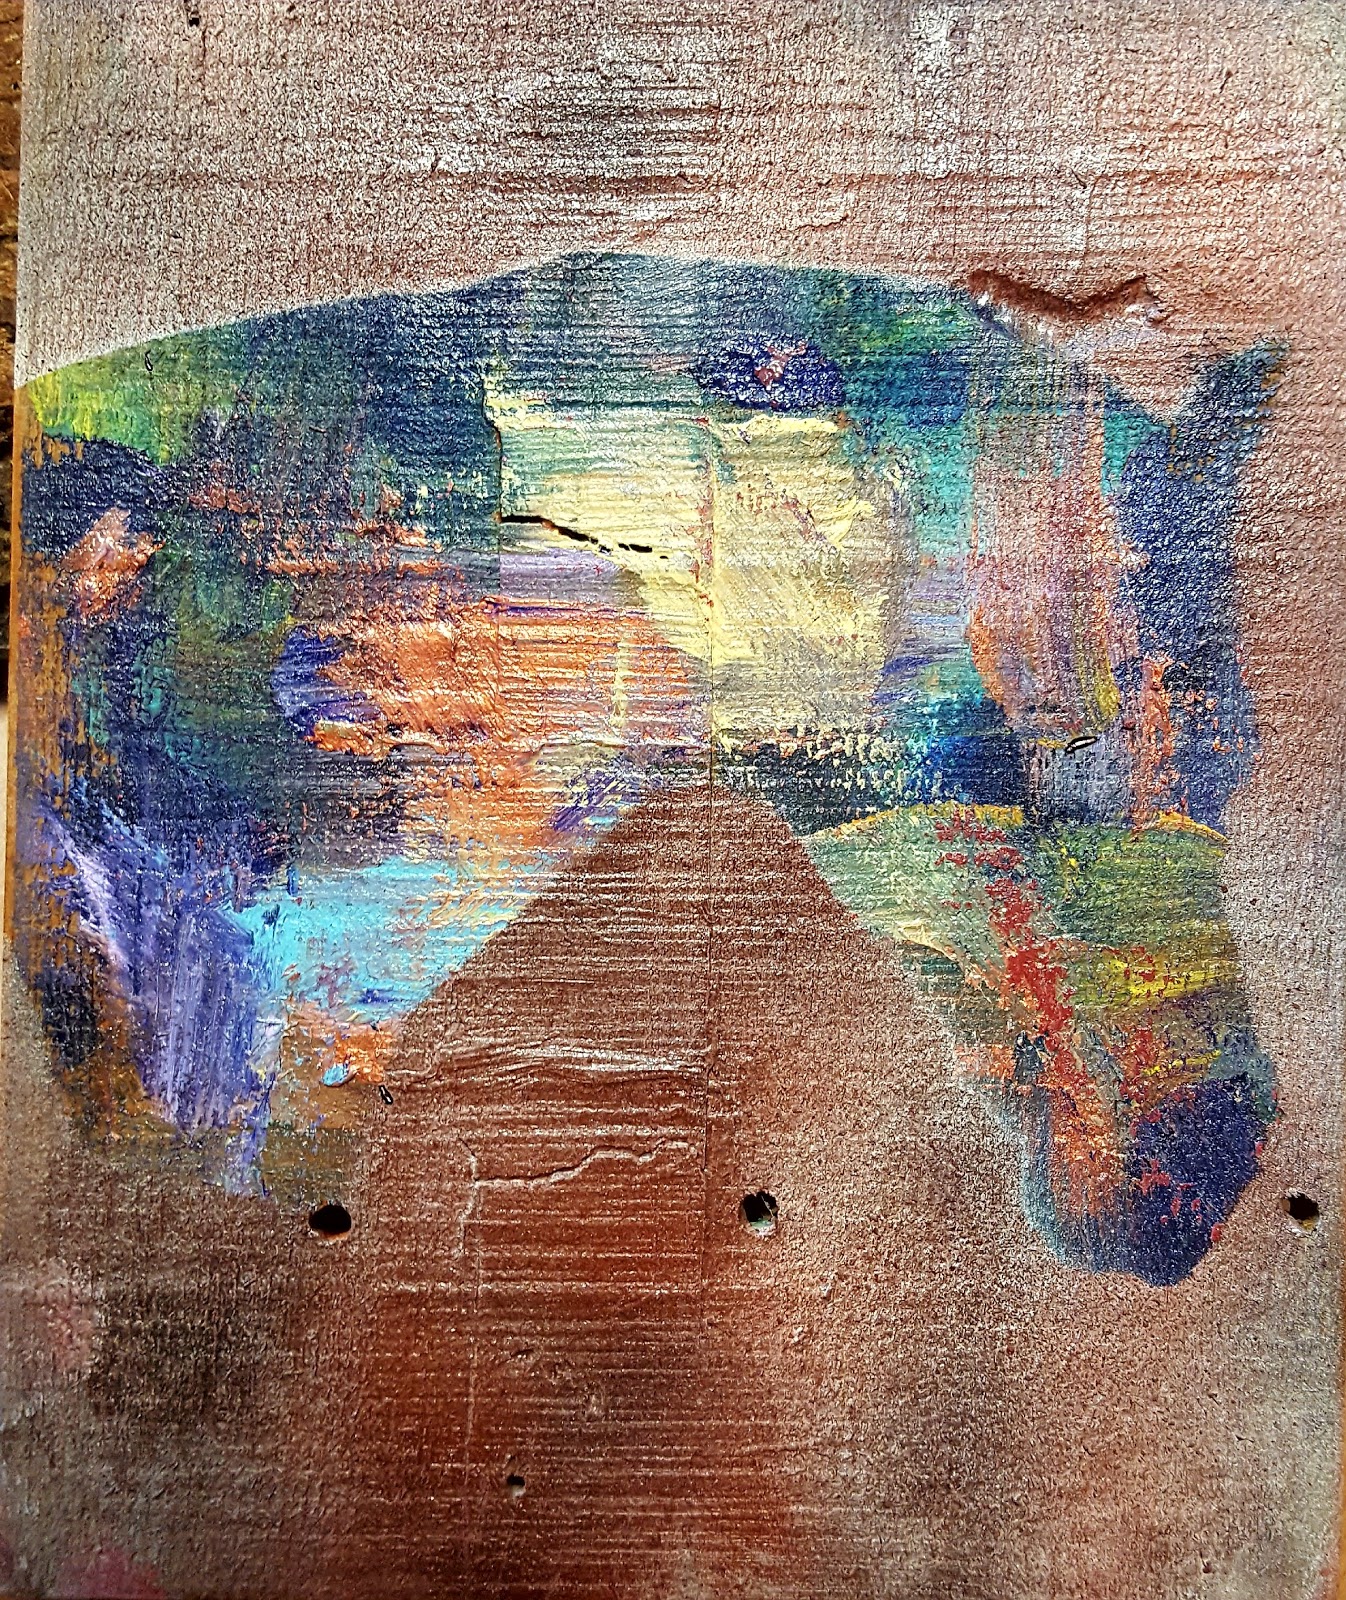
I liked just squirting a small amount of each color on the board and then brushes haphazardly on the board. Be careful to not brush too much or use too many colors since your colors can get muddied pretty easily. But no worries if they do. Just dab a color on top, let sit for a minute and then lightly brush. In the photo above, I had some fluid acrylics (the thin magenta color) and used that as well. I ended up wetting my board before applying paint on the second after pieces of wood. I thought that might help the paint to flow into the wood better. You can try that too if you'd like.

Here I have a few different boards. I like using older, weathered 'repurposed' wood. I think the imperfections add character. Some of my wood was smooth and others were pretty 'rustic'. It is fun to try different surfaces to see the different effects.

This piece of wood was just a scrap I found in my husband's workshop. I will use those holes for something.

I had some pieces of wood I applied thick paint, and others thin. They both worked and gave good results. I guess just want to say- there is no wrong way to do this.

Let paint dry. I did mine outside on our picnic table. I am messing when it comes to paint.

Next, you will want to get a stencil cut out of cardstock or stencil material. Gather your spray paint and either go outside like I did or you can place your wood in a cardboard box with deep sides and spray inside but do it in a well ventilated area. Beware there may be 'spray' that could discolor outside the box.

I like to spray light layers of different colors of spray paint. I also like to sand the edges and sometimes even the sprayed and painted portions.... you can get different effects by allowing the wood grain to show thru in places. You can also use a chalk paint in place of the spray paint applied unevenly- some places thinner so the underlying colors show thru. Have fun with it. Like I said, there is no wrong way to do this.


These will be listed in my Etsy Shop if you decide you'd rather buy mine then make some. :)
As always, thank you also for sharing, pinning and tweeting my blog or website!
Happy Trails!

Find me on:
Facebook https://www.facebook.com/FreeReinArtStudio/
Etsy https://www.etsy.com/shop/FreeReinArtStudio
Pinterest https://www.pinterest.com/sue_steiner/
Instagram https://www.instagram.com/freereinart/
Twitter https://twitter.com/saveaface
Website: https://www.horseartonline.com


Comments